


Rawhide Cycles
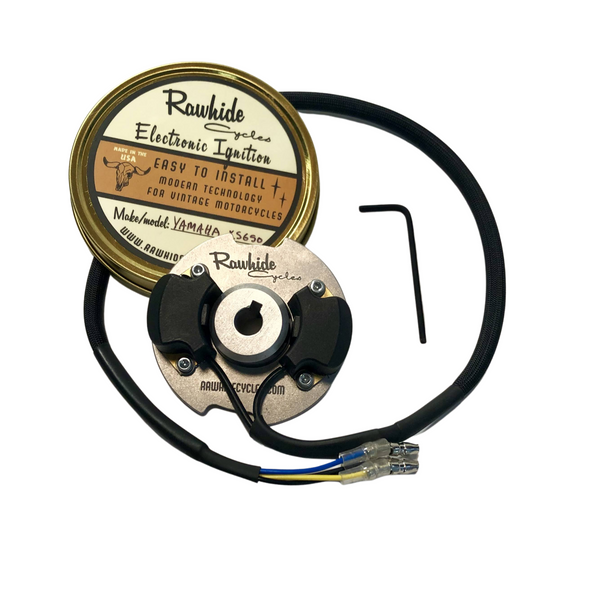
Rawhide Cycles Electronic Ignition for Yamaha XS650 1969-1985
- Manufactured to meet exhausting standards with a combined 6 years of research and development; fits seamlessly into your vintage motorcycle
- The pickups aka triggers (the brain of this unit) are manufactured exclusively by Charlie's Place in Los Angeles, CA and the Honda ignitions that Charlie's Place make have an excellent reputation and following with thousands of ignitions sold and installed
- Designed for proper fit, and complimentary aesthetic – no ‘black box’ or special modification necessary for installation
- Improves performance and reliability
- Replaces antiquated points & condensers with new state-of-the-art technology that produces strong, consistent spark for easier starting, better acceleration, and a noticeably smoother ride
- Thoroughly tested for durability and longevity – withstands excessive heat and vibration
- Each unit is hand-assembled and inspected here in our shop
- Pickups are adjustable for perfect timing
- Thorough installation instructions provided with purchase, as well as phone and email tech support
- Important for 1980 and later. You will need to purchase a mechanical advancer and advance rod from an earlier XS650 to retrofit this type of ignition.
- Please allow 2-5 days for shipping and handling. We are a small, very busy vintage motorcycle parts manufacturing and vintage motorcycle repair shop and only ship on Mondays, Wednesdays and Fridays.
WARRANTY INFORMATION
2. Install the new rotor in place of the old with the locating pin in the slot of the rotor. Install your new ignition by centering the unit in place of the points plate and lightly fastening it into place.
3. Hook up all wires for the ignition: Yellow into left side coil (orange dual female), blue into right side coil (gray dual female).
4. Disconnect red lead from the left coil where it plugs into the wiring harness.
5. Plug the red power wire (coming from the left coil) into the female "pig tail" coupler on the wire branching from the ignition. This is a black wire.
6. Plug the male coupler of this same wire (coming from the ignition) into the red female coupler coming from the wiring harness.
TIMING
Do not attempt to set your timing using a dynamic timing light. It will damage the triggers if the ignition plate is loose/loosened while the bike is running. This will cause a ground failure that will short the capacitors inside the triggers. A dynamic timing light may be used to check advance only. If adjustment is necessary, turn power off before making any adjustments or loosening the screws that hold the ignition plate on.
1. With the power still off, connect a test light into the now vacant side of the dual female coupler coming from the left coil.
2. Ground the other side of test light to motor or unpainted surface.
3. Check to ensure the magnet on the rotor is not facing either pick up before turning power on.
4. Turn the power on. Note: At this point, you will see a light come on - this is normal.
5. Rotate the rotor that's on the end of a crank shaft with a wrench to check the timing. The rotor has one timing mark. Do NOT turn the bolt on the end of the cam shaft to do this. The test light will stay on until just before the magnet reaches the trigger on the ignition. Then, the light will go off or very dim. When the light comes on bright again, check the position of your rotor mark in comparison to the stator marks. The stock stator for ‘79 and earlier has four marks. The middle marks with the letter F in between is the point at which you should set your timing on both cylinders. The light should come on in between these two marks. If adjustment is necessary, rotate the entire ignition plate to set the timing for the left side (yellow wire) pick up.
6. Check the timing for the right side (blue wire) pick up using the same method. The test light now plugs into the right side, and the light should come on in between the same marks. If adjustment is necessary, loosen the pick up with the provided allen wrench and carefully reposition it.
7. After your timing is set, carefully reinstall your points cover. If it does not seem to be fitting well, don't force it. Breaking the trigger cover will compromise the integrity of the unit and void any warranty.