Please allow 7-10 days for orders to be processed in addition to shipping times.
Rawhide Cycles Performance Electronic Ignition for 1970-Up Harley-Davidson Big Twins & Sportsters

Rawhide Cycles

Rawhide Cycles Performance Electronic Ignition for 1970-Up Harley-Davidson Big Twins & Sportsters

$ 249.00


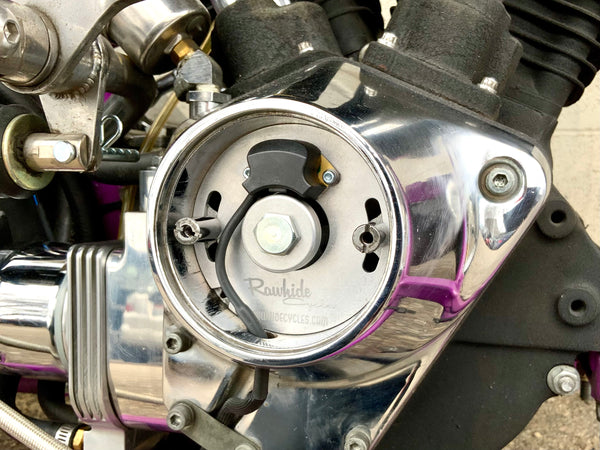
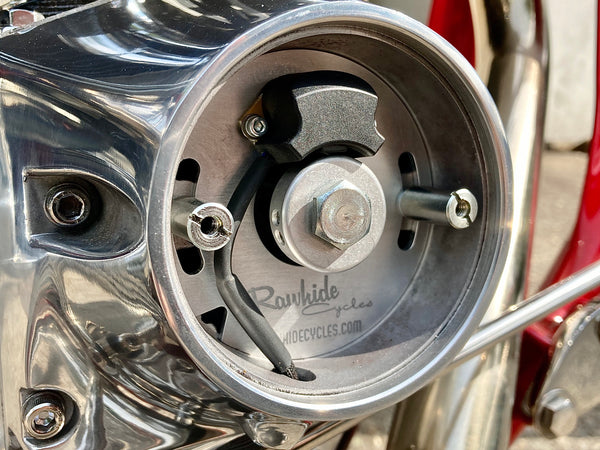
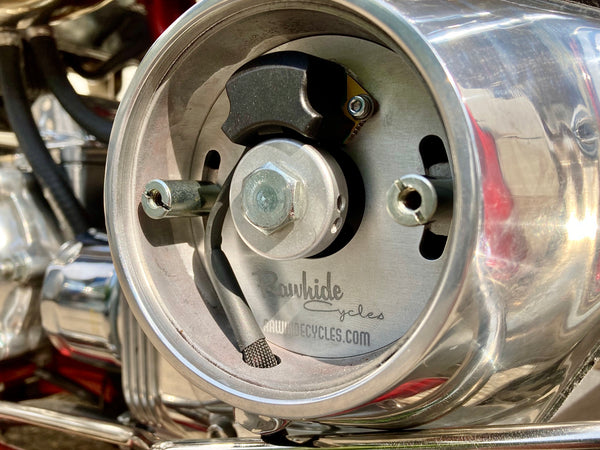
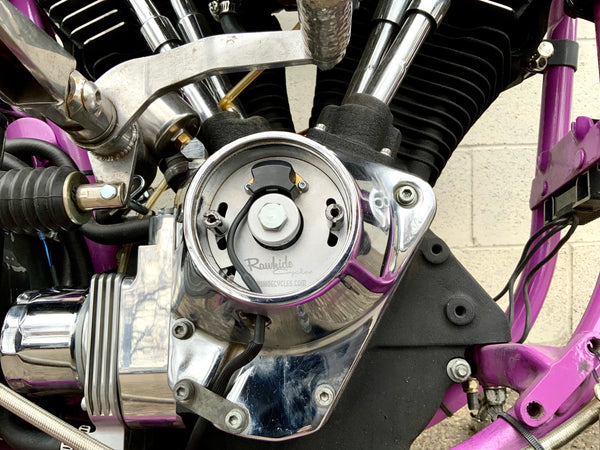
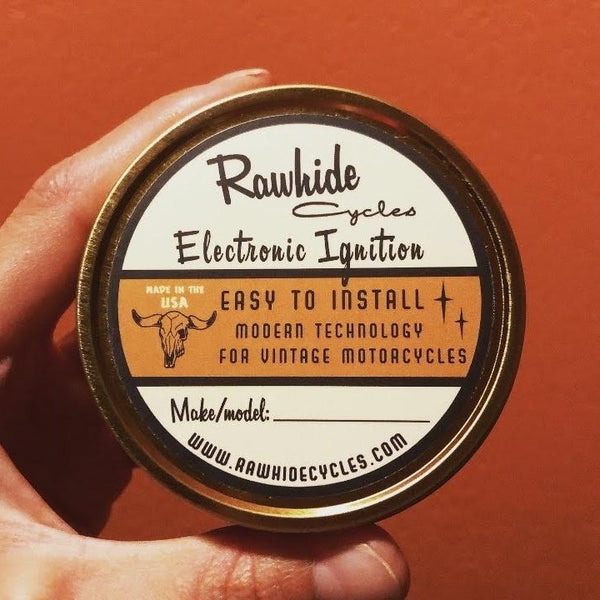
We believe this to be the best electronic ignition available for your Harley-Davidson motorcycle. Manufactured and assembled by hand in Boise, Idaho. Our ignition will improve performance and tuning. What you will enjoy are many improvements:

-Complete reliability from Made in USA quality and design
-Ease of kickstarting
-The iconic Harley-Davidson idle
-Excellent acceleration
-Improved efficiency
-Simple tuning and jetting after installation*

*If needed. Some bikes may want a bit more fuel. Refer to our tuning tips page for additional improvements. (coming soon)


What you’ll need:

1936-1969 Ignition
1. 4 to 5 ohm coil
2. Auto advance distributor/timer (option to purchase with ignition)
3. 6v or 12v system compatible with functioning charging system

1970-later (carburetor/Evo big twins / sportsters)
1. 4 to 5 ohm coil
2. Mechanical advancer (American Prime highly recommended)
3. Functioning charging system

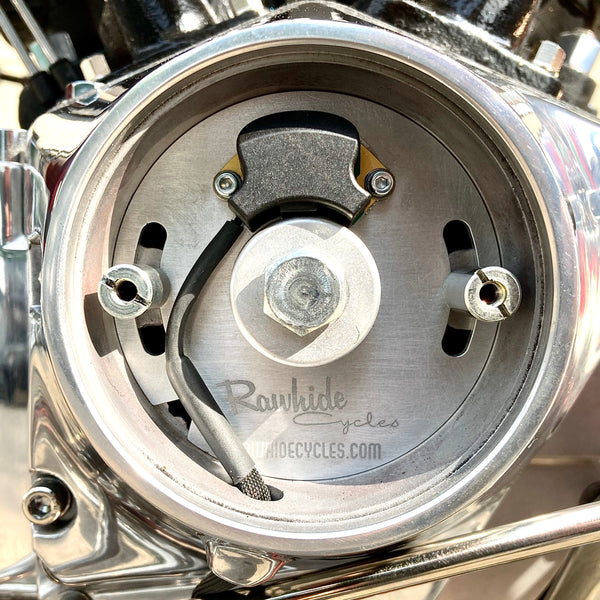
Installation instructions HERE.

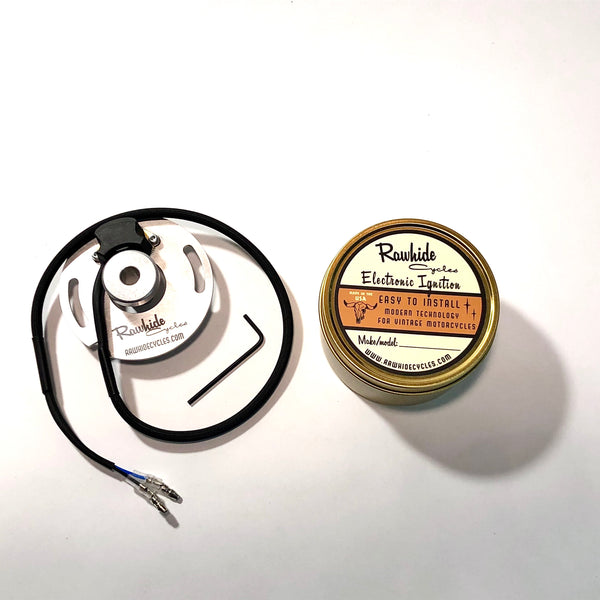
 Important: Please read these thoroughly before installation so that the wires are not hooked up incorrectly, which will void the warranty. The black wire is power where switched power from the key switch or kill switch will also connect and depending on the ignition, you’ll have either a blue or a yellow wire as well. The blue or yellow wire will always be by itself on one side of the coil.


The long story, and all of the details:

The electronics, trigger plates and rotors are all Made in the USA and are hand assembled one at a time by myself, Brandon Wurtz, owner of Rawhide. This ignition was developed to fill a void in quality, simple Made in USA electronic ignitions for H-D’s. The source for pickups is the key to our bold claims and guarantee for extreme reliability and performance. It all begins when I started working for a highly skilled mechanic, Charlie O’Hanlon in San Francisco in 2010, who owns Charlie’s Place, a vintage motorcycle restoration and repair shop.

Charlie had begun working on a design for electronic ignitions for many vintage 1978 and earlier Honda’s. Setting the point timing, and fighting for consistent tuning on dozens of bikes a week with no end in sight was highly motivating. When I started at Charlie’s there were 55 vintage Honda’s in the shop for repair with Charlie, one other mechanic, Rab McKie and myself. That’s what you might call, overwhelming. Fast forward about 2 years after a major struggle to find a quality electronics manufacturer, Charlie struck gold. He met an engineer in Los Angeles that helped him develop a unique electronic ignition trigger.

This design has far less duration than a point or the common electronic ignitions everyone has used, and had fail or malfunction. Meaning it is on less than all of the other ignitions available. It will run off of 2.5V, so we have run them on many 6V bikes. Each pickup / trigger is hand tested by Charlie on the bench to turn on and off. Between Charlie and I, we have quality control that is unrivaled. For the 1970-later Harley-Davidson ignitions, we used one of our shop bikes for research and development, a 1976 Shovehead. I sat down with this bike after a friend, Trevor Sluder drew up a good blank slate set of drawings so our machinist could make us prototype plates and rotors to test this ignition. For 1936-1969 Harley Davidson ignitions, we used our Born Free 12 1966 Shovelhead, that won “Best Chopper” for the testing. Ready to purchase? Click on the version you need and hit checkout!


Guaranteed to improve performance and reliability.
  • Manufactured to meet the highest quality standards with a combined 6 years of research and development; fits seamlessly into your vintage motorcycle
  • The pickups aka triggers (the brain of this unit) are manufactured exclusively by Charlie's Place in Los Angeles, CA
  • Designed for proper fit, and complimentary aesthetic – no ‘black box’ or special modification necessary for installation
  • Improves performance and reliability
  • Replaces antiquated points & condensers with new state-of-the-art technology that produces strong, consistent spark for easier starting, better acceleration, and a noticeably smoother ride
  • Thoroughly tested for durability and longevity – withstands excessive heat and vibration
  • Each unit is hand-assembled and inspected here in our shop
  • Pickups are adjustable for perfect timing
  • Uses stock advancer. Our rotor is the exact weight of the stock rotor, so the timing will advance mechanically as intended 
  • Thorough installation instructions provided with purchase, as well as phone and email tech support

    IMPORTANT: Check to see if you will need a mechanical advancer. Most models after 1979/80 had a CDI unit with no mechanical advancer. You will need one and can purchase them HERE.

    WARRANTY INFORMATION

    Rawhide Cycles warrants to the original purchaser that the electronic ignition shall be free from defects in parts and workmanship under normal use for one (1) year from date of purchase.
    Rawhide Cycles obligation under this warranty is limited to repair or replacement of any part found to be defective when returned to Rawhide Cycles. The unit must be returned with evidence of purchase, with a detailed description of the problem. The warranty will not apply if the product has been installed incorrectly, repaired or damaged by modification, misuse or accident. Using these ignitions with bikes that have known charging issues, bad coils, or other sub-standard electrical systems also voids any and all warranties.


    INSTALLATION INSTRUCTIONS

    1. Remove the point cover.
    2. Remove the two standoff screws holding the point plate to the engine. Unplug the wire going to the points and remove point/plate assembly.
    3. Remove the bolt holding the spark advance assembly to the engine and remove the assembly.
    4. Remove the point cam from the advance assembly.
    5. Coat the advance assembly shaft lightly with oil. Slip the magnetic rotor over the shaft. Push the rotor down until it engages the weights on the advance assembly (it will only go on one way). Ensure that the rotor rotates freely·on the shaft as the advance weights move out and back. ·
    6. Install your new advance/rotor assembly on the engine making sure the pin on the advance assembly is engaged in the slot on the engine. Install the bolt and tighten. Ensure that the rotor is still free to rotate.
    7. Remove the wires that connected the points and ignition coil.
    8. Install the new Rawhide Cycles ignition assembly using the two standoffs previously removed, and tighten. The plate should be oriented so that the large power module is at 12 o'clock or 3 o'clock, depending on the model.
    9. Route the wiring from the ignition assembly out of the hole in the engine case and over to the ignition coil, being careful to avoid the exhaust system.
    10. Use the supplied wires with the kit to extend to the coil from the ignition wires if needed. 
    11. The 12 volt wire from the ignition/key switch is connected to one side of of the coil. Connect the black wire to that same end of the coil.
    12. Connect the blue wire to the other end of the coil.
    13. This completes the wiring and installation. Make sure that all connections are secure.