

Rawhide Cycles
Rawhide Cycles Performance Electronic Ignition for 1936-1969 Harley-Davidson Big Twins
What you’ll need:
The facts of life:
This electronic ignition is Made in USA! This ignition was developed to fill a void in quality, simple electronic ignitions for H-D’s. The ignition plates and rotors are machined in Garden City, Idaho for Rawhide Cycles. The pickups are manufactured by Charlie’s Place in Los Angeles, California. Each Rawhide Cycles electronic ignition is hand assembled one at a time by myself, Brandon Wurtz, owner of Rawhide. The source for pickups is the key to our bold claims and guarantee for extreme reliability and performance. It all begins when I started working for an expert vintage motorcycle mechanic, Charlie O’Hanlon in San Francisco in 2010, who owns Charlie’s Place, a vintage Honda restoration and repair shop specializing in 1978 and earlier models only.
At that time, Charlie was developing electronic ignitions for all Honda street bikes made from 1960-1978. This is what we would call the golden era of Honda. CB350’s, CB750’s, Scramblers, Trail 90’s, etc. Setting the point(s) timing, and fighting for consistent tuning on dozens of bikes a week with no end in sight can be highly motivating. When I started at Charlie’s there were 55 vintage Honda’s in the shop for repair with Charlie, one other mechanic, Rab McKie and myself. That’s what you might call overwhelming when those bikes would not stay in tune because of the timing and inconsistency of points and condensers. Fast forward about 2 years after a struggle to find a quality electronics manufacturer, Charlie struck gold. He met an engineer in Los Angeles that helped him develop a unique electronic ignition trigger.
It has far less duration than a point or previous electronic ignitions for any bike. The duration is the amount of It will run off of 2.5V, so we have run them on many 6V bikes. Each pickup / trigger is hand tested by Charlie on the bench to turn on and off. Between Charlie and I, we have quality control that is unrivaled.
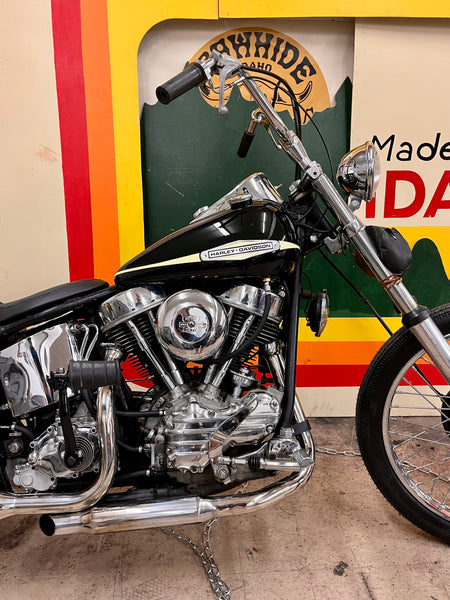
For the 1970-later Harley-Davidson ignitions, we used one of our personal bikes for research and development, a 1976 Shovehead of Ryan Stallcup’s, our only other mechanic and our in house fabrication expert. I sat down with Ryan’s bike after a friend, Trevor Sluder drew up a good blank slate set of drawings so our machinist could make us prototype plates and rotors to test this ignition. For 1936-1969 Harley Davidson ignitions, we used our Born Free 12 1966 Shovelhead, that won “Best Chopper” for the testing. Ready to purchase? Click on the version you need and hit checkout!
Made in the USA and guaranteed to improve performance and reliability.
Manufactured to meet exhausting standards with a combined 6 years of research and development; fits seamlessly into your vintage motorcycle
- The pickups aka triggers (the brain of this unit) are manufactured exclusively by Charlie's Place in Los Angeles, CA
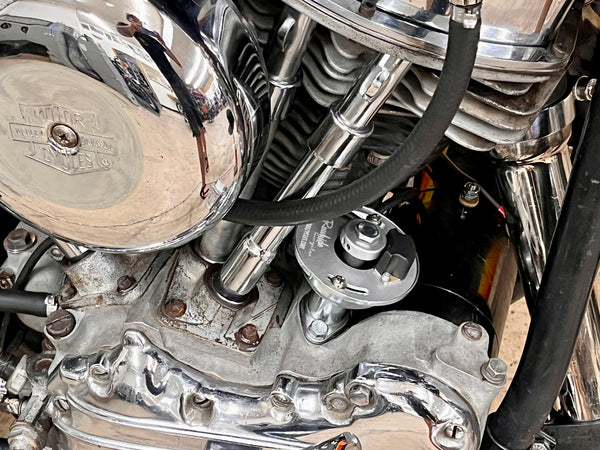
- Designed for proper fit, and complimentary aesthetic – no ‘black box’ or special modification necessary for installation
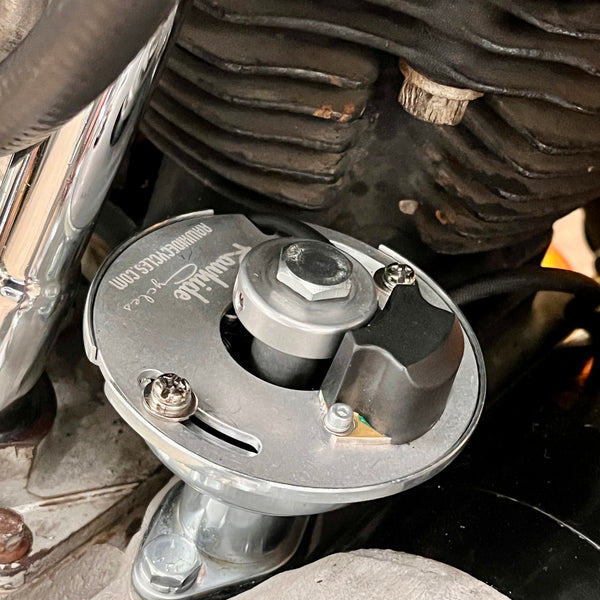
- Custom ignition distributor with clockwise operating automatic advance mechanism. Fitment permits the use of Rawhide Cycles ignition systems. For adjustment simply turn the baseplate as on late style ignition systems. 2-bolt mounting base.
- Improves performance and reliability
- Replaces antiquated points & condensers with new state-of-the-art technology that produces strong, consistent spark for easier starting, better acceleration, and a noticeably smoother ride
- Thoroughly tested for durability and longevity – withstands excessive heat and vibration
- Each unit is hand-assembled and inspected here in our shop
- Pickups are adjustable for perfect timing
- Uses stock advancer. Our rotor is the exact weight of the stock rotor, so the timing will advance mechanically as intended
- Thorough installation instructions provided with purchase, as well as phone and email tech support
WARRANTY INFORMATION
INSTALLATION INSTRUCTIONS
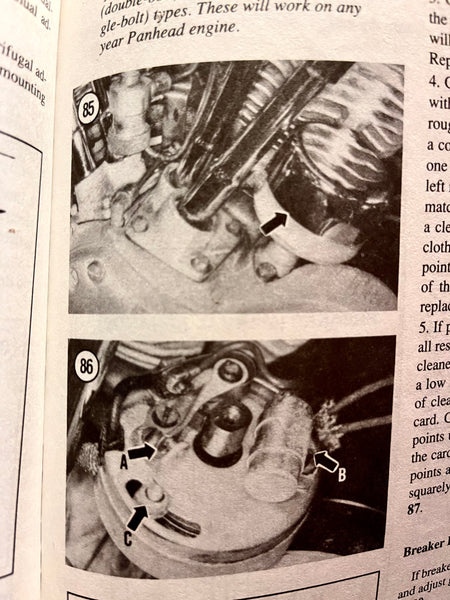
- Remove the point cover.
- Remove the two standoff screws holding the point plate to the engine. Unplug the wire going to the points and remove point/plate assembly.
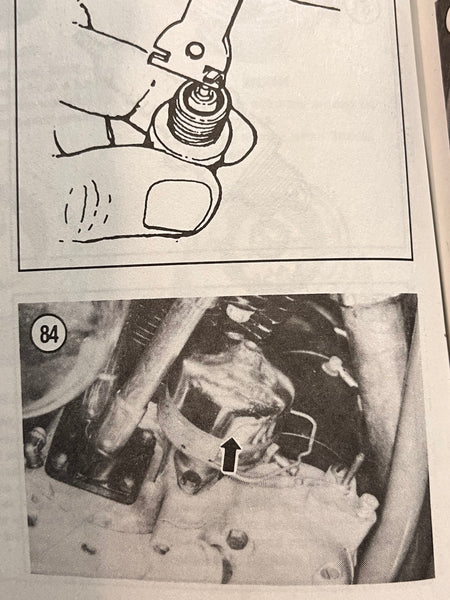
- Remove the bolt holding the spark advance assembly to the engine and remove the assembly.
- Remove the point cam from the advance assembly.
- Coat the advance assembly shaft lightly with oil. Slip the magnetic rotor over the shaft. Push the rotor down until it engages the weights on the advance assembly (it will only go on one way). Ensure that the rotor rotates freely·on the shaft as the advance weights move out and back. ·
- Install your new advance/rotor assembly on the engine making sure the pin on the advance assembly is engaged in the slot on the engine. Install the bolt and tighten. Ensure that the rotor is still free to rotate.
- Remove the wires that connected the points and ignition coil.
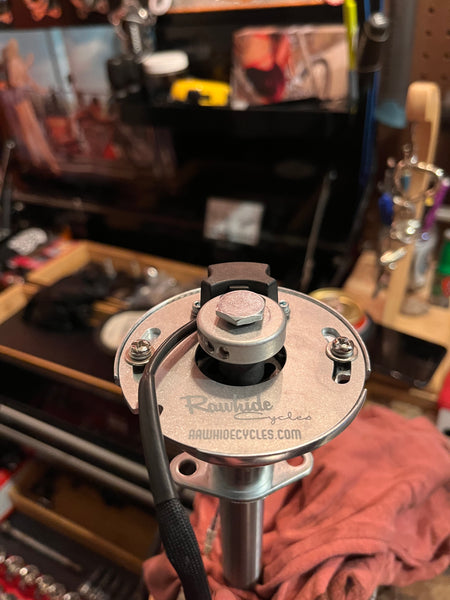
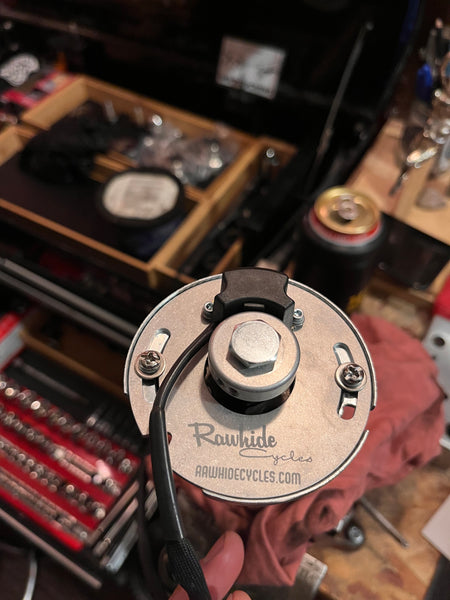
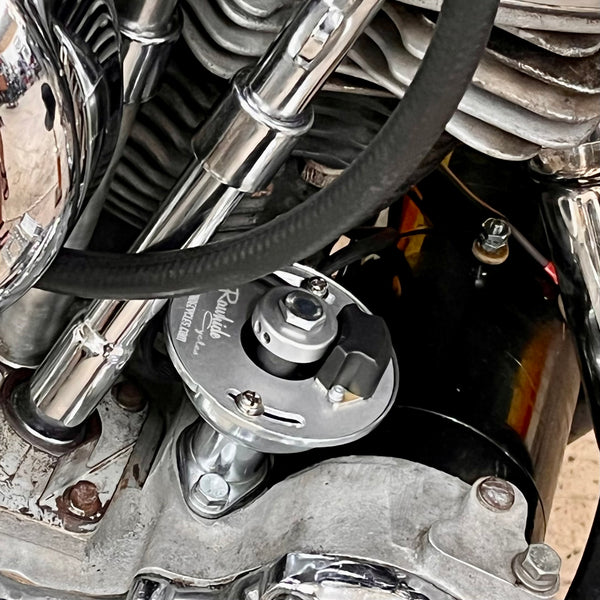
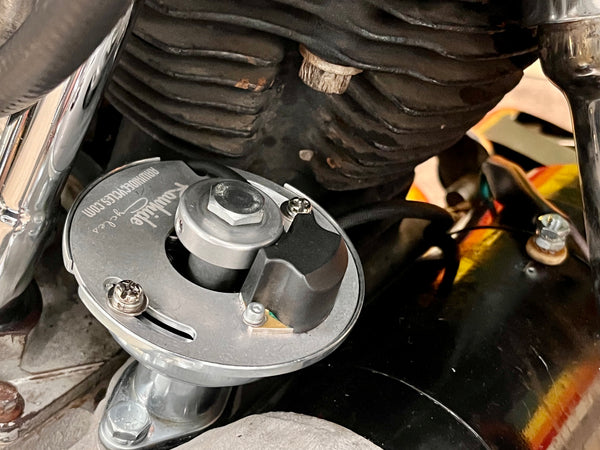
- Install the new Rawhide Cycles ignition assembly using the two standoffs previously removed, and tighten. The plate should be oriented so that the large power module is at 12 o'clock or 3 o'clock, depending on the model.
- Route the wiring from the ignition assembly out of the hole in the engine case and over to the ignition coil, being careful to avoid the exhaust system.
- Use the supplied wires with the kit to extend to the coil from the ignition wires if needed.
- The 12 volt wire from the ignition/key switch is connected to one side of of the coil. Connect the black wire to that same end of the coil.
- Connect the blue wire to the other end of the coil.
- This completes the wiring and installation. Make sure that all connections are secure.